
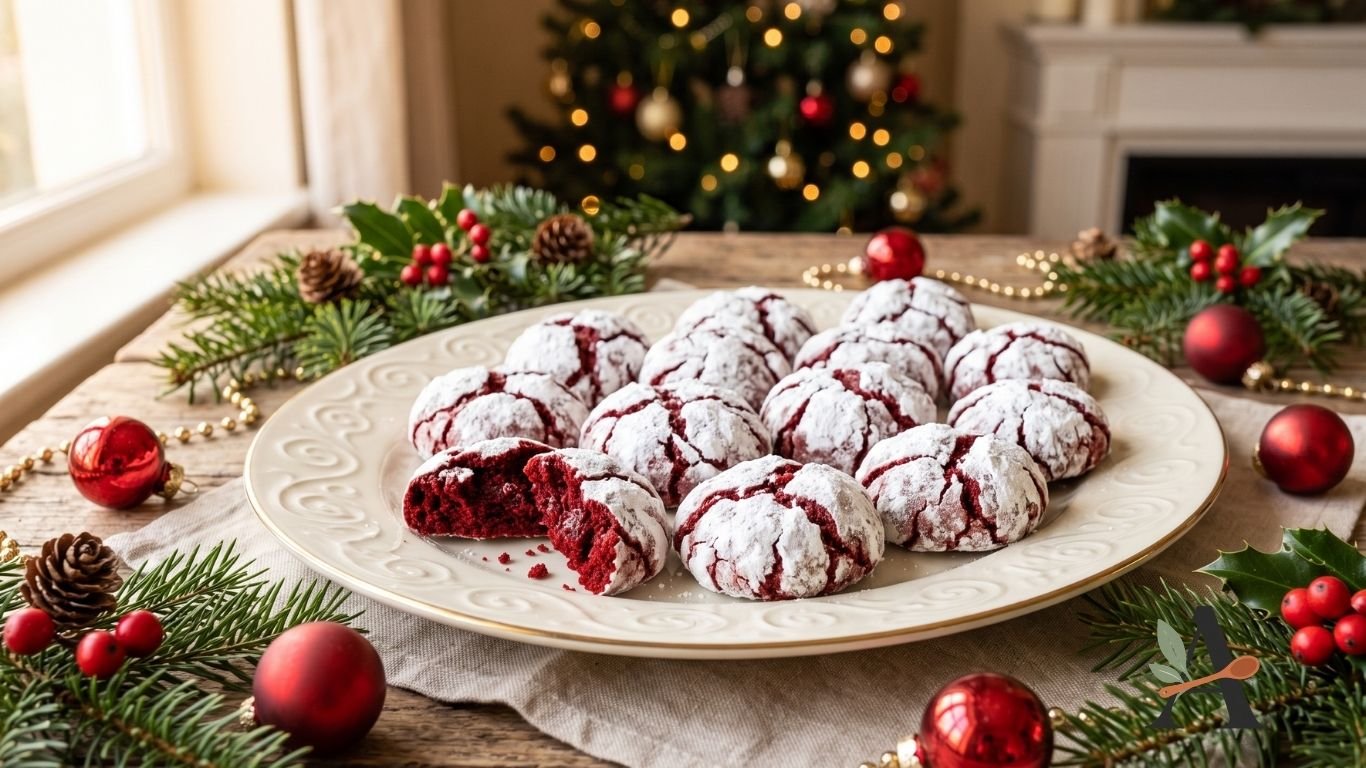
These red velvet crinkle cookies have soft, fudgy centres, lightly crisp edges and a striking red-and-white appearance. Cocoa powder gives the dough a gentle chocolate flavour, while a thick coating of icing sugar creates the snowy cracks.
The cookies are especially suitable for Christmas parties, cookie exchanges and homemade gift boxes. Their colour also makes them useful for Valentine’s Day or other celebrations.
Chilling the dough is essential because it prevents excessive spreading and helps create clear crinkles while the cookies bake.
Why You’ll Love These Christmas Cookies
- Soft, fudgy centres.
- Light chocolate flavour.
- Bright festive colour.
- Snowy icing-sugar coating.
- Attractive cracked surface.
- Suitable for cookie exchanges.
- Easy to prepare ahead.
- Freezer-friendly.
- Perfect for Christmas gift boxes.
- Easy to customise.
Ingredients You’ll Need
- 2 cups all-purpose flour.
- ¼ cup unsweetened cocoa powder.
- 1½ teaspoons baking powder.
- ¼ teaspoon baking soda.
- ½ teaspoon salt.
- ½ cup unsalted butter, softened.
- ¾ cup granulated sugar.
- ¼ cup packed light brown sugar.
- 2 large eggs, at room temperature.
- 2 teaspoons pure vanilla extract.
- 1 teaspoon white vinegar.
- 1–2 teaspoons red gel food colouring.
- ¼ cup granulated sugar, for rolling.
- 1 cup icing sugar, for rolling.
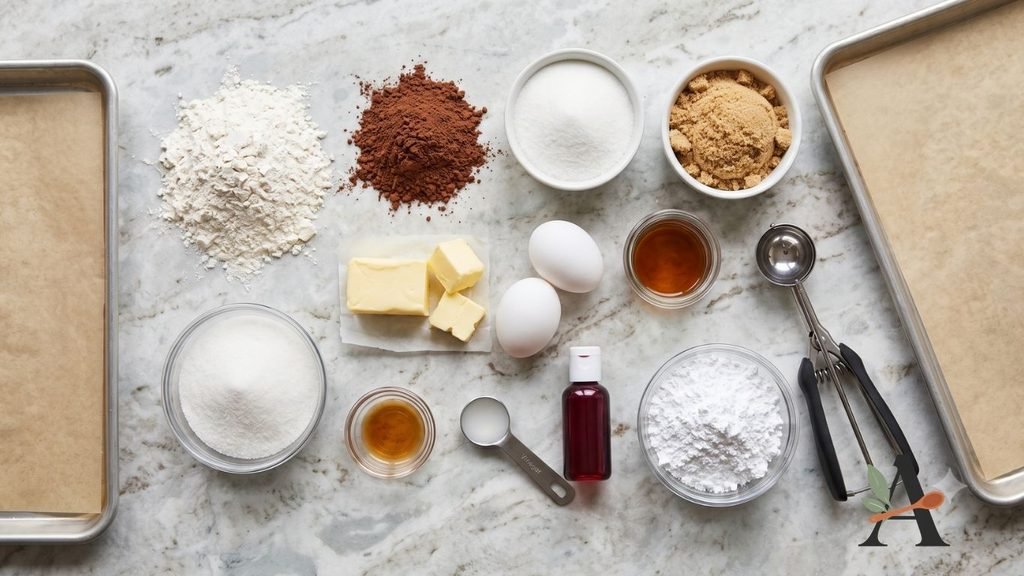
Ingredient Notes
Cocoa powder: Natural unsweetened cocoa provides the classic mild chocolate flavour associated with red velvet.
Food colouring: Gel colouring creates a stronger red colour without adding excessive liquid.
Brown sugar: Adds moisture and supports the soft, fudgy texture.
White vinegar: Enhances the traditional red velvet flavour and reacts with the baking soda.
Icing sugar: Creates the high-contrast cracked coating.
How to Make Red Velvet Crinkle Cookies
Step 1: Combine the Dry Ingredients
Whisk the flour, cocoa powder, baking powder, baking soda and salt in a medium bowl.
Break apart any cocoa lumps.
Step 2: Cream the Butter and Sugars
Beat the softened butter, granulated sugar and brown sugar for approximately 2–3 minutes.
The mixture should appear lighter and creamy.
Step 3: Add the Eggs
Add the eggs one at a time, beating after each addition.
Scrape the sides and bottom of the bowl.
Step 4: Add the Flavour and Colour
Mix in the vanilla, vinegar and red gel food colouring.
Add enough colouring to create a deep red batter because the flour and cocoa will soften the shade.
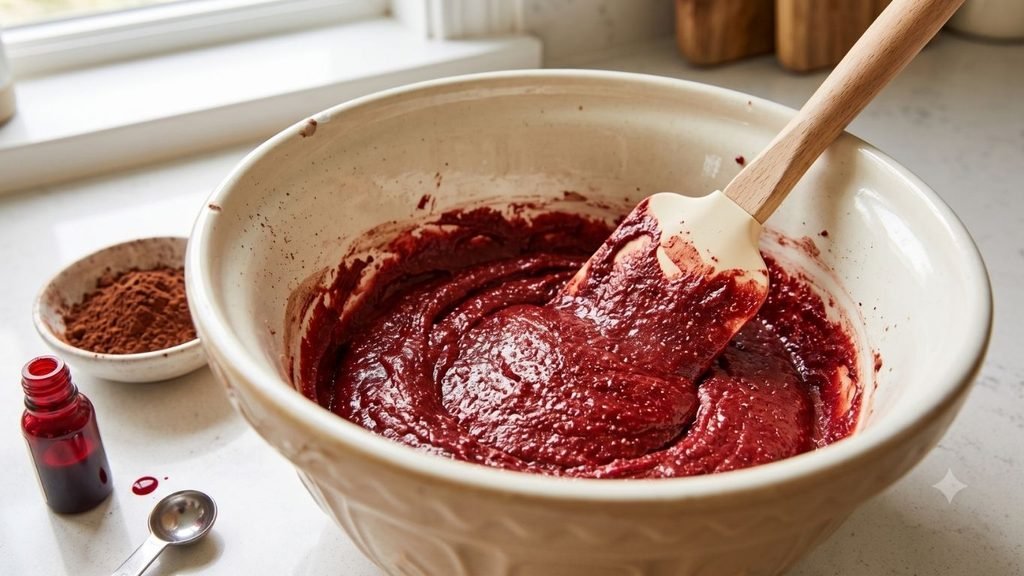
Step 5: Add the Dry Ingredients
Add the flour mixture gradually.
Mix on low speed until a thick, soft dough forms. Avoid overmixing.
Step 6: Chill the Dough
Cover the bowl and refrigerate for at least two hours.
The dough should become firm enough to roll without sticking heavily.
Step 7: Prepare the Oven
Preheat the oven to 350°F.
Line two large baking sheets with parchment paper.
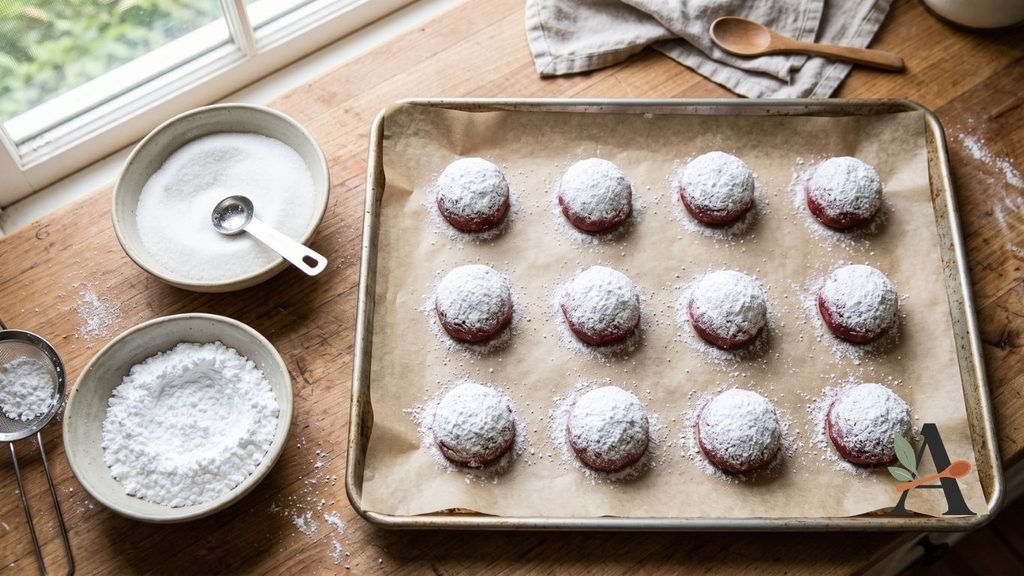
Place the granulated sugar and icing sugar in two separate shallow bowls.
Step 8: Shape and Coat
Scoop approximately 1½ tablespoons of dough and roll it into a ball.
Coat it lightly in granulated sugar, then generously in icing sugar.
The complete surface should appear white.
Step 9: Bake
Arrange the portions approximately two inches apart.
Bake for 10–12 minutes, until the cookies have spread and developed deep cracks.
The centres should still appear soft.
Step 10: Cool
Allow the cookies to cool on the baking sheet for five minutes.
Transfer them carefully to a wire rack and cool completely.
Tips for Clear Crinkles
Chill the Dough Properly
Warm dough spreads before the surface has time to crack.
Use Gel Colouring
Liquid colouring can thin the dough and create a muted colour.
Roll in Two Sugars
Granulated sugar creates a barrier that helps prevent the icing sugar from dissolving.
Apply a Thick Sugar Coating
Thin patches may disappear during baking.
Avoid Flattening the Dough
Round portions develop the most attractive cracks.
Do Not Overbake
The cookies continue setting as they cool.
Common Problems and Solutions
Why Did the Icing Sugar Disappear?
The coating may have been too thin, the dough may have been wet or the granulated-sugar layer may have been omitted.
Why Did the Cookies Not Crack?
The dough may have been too cold, the oven insufficiently hot or the raising agents inactive.
Why Did the Cookies Spread Too Much?
The dough may not have chilled long enough, the butter may have been too warm or the flour may have been under-measured.
Why Do the Cookies Look Brown?
Too much cocoa or insufficient red colouring can reduce the bright red appearance.
Easy Recipe Variations
Red Velvet White Chocolate Cookies
Fold ½ cup white chocolate chips into the dough.
Cream Cheese Crinkle Cookies
Fill each dough portion with a small frozen piece of sweetened cream cheese using a tested method.
Peppermint Red Velvet Cookies
Add a small amount of peppermint extract and crushed peppermint sweets.
Red Velvet Sandwich Cookies
Sandwich cooled cookies with cream cheese icing.
Valentine’s Crinkle Cookies
Use red, pink and white sprinkles for a Valentine’s Day variation.
Make-Ahead Instructions
Prepare and refrigerate the dough for up to two days.
Allow very firm dough to soften briefly before shaping.
The baked cookies can be prepared several days before serving.
How to Store Crinkle Cookies
Store completely cooled cookies inside an airtight container at room temperature for up to five days.
Place parchment paper between the layers to protect the sugar coating.
Can You Freeze Them?
Yes. Freeze baked cookies in a freezer-safe container for up to three months.
You may also freeze uncoated dough balls. Thaw them in the refrigerator before applying both sugar coatings and baking.
Frequently Asked Questions
Can I use liquid food colouring?
Yes, but gel colouring produces a stronger colour with less added moisture.
Why roll the dough in granulated sugar first?
The granulated sugar helps keep the icing sugar bright and visible.
Can I make the dough without cocoa?
Cocoa provides the traditional red velvet flavour. Omitting it produces a different cookie.
How many cookies does the recipe make?
It produces approximately 20–24 cookies.
Can I use a boxed cake mixture?
Yes, but cake-mix cookies require different ingredient quantities.

Red Velvet Crinkle Cookies Recipe Card
Preparation time: 25 minutes
Chilling time: 2 hours
Cooking time: 10–12 minutes per batch
Total time: Approximately 2 hours 50 minutes
Yield: 20–24 cookies
Course: Dessert
Cuisine: American
Method: Baking
Ingredients
- 2 cups all-purpose flour.
- ¼ cup unsweetened cocoa powder.
- 1½ teaspoons baking powder.
- ¼ teaspoon baking soda.
- ½ teaspoon salt.
- ½ cup unsalted butter, softened.
- ¾ cup granulated sugar.
- ¼ cup light brown sugar.
- 2 large eggs.
- 2 teaspoons vanilla.
- 1 teaspoon white vinegar.
- 1–2 teaspoons red gel colouring.
- ¼ cup granulated sugar, for coating.
- 1 cup icing sugar, for coating.
Instructions
- Whisk the flour, cocoa, baking powder, baking soda and salt.
- Beat the butter with both sugars.
- Add the eggs one at a time.
- Add the vanilla, vinegar and red colouring.
- Mix in the dry ingredients.
- Cover and refrigerate for two hours.
- Preheat the oven to 350°F.
- Line two baking sheets.
- Shape the dough into balls.
- Roll each ball in granulated sugar.
- Coat generously with icing sugar.
- Arrange the portions two inches apart.
- Bake for 10–12 minutes.
- Cool on the tray for five minutes.
- Transfer to a wire rack.
Recipe Notes
- Use gel food colouring for a strong red shade.
- Chill the dough thoroughly.
- Apply both sugar coatings.
- Do not overbake the soft centres.
- Test the complete recipe before confirming the final yield.