
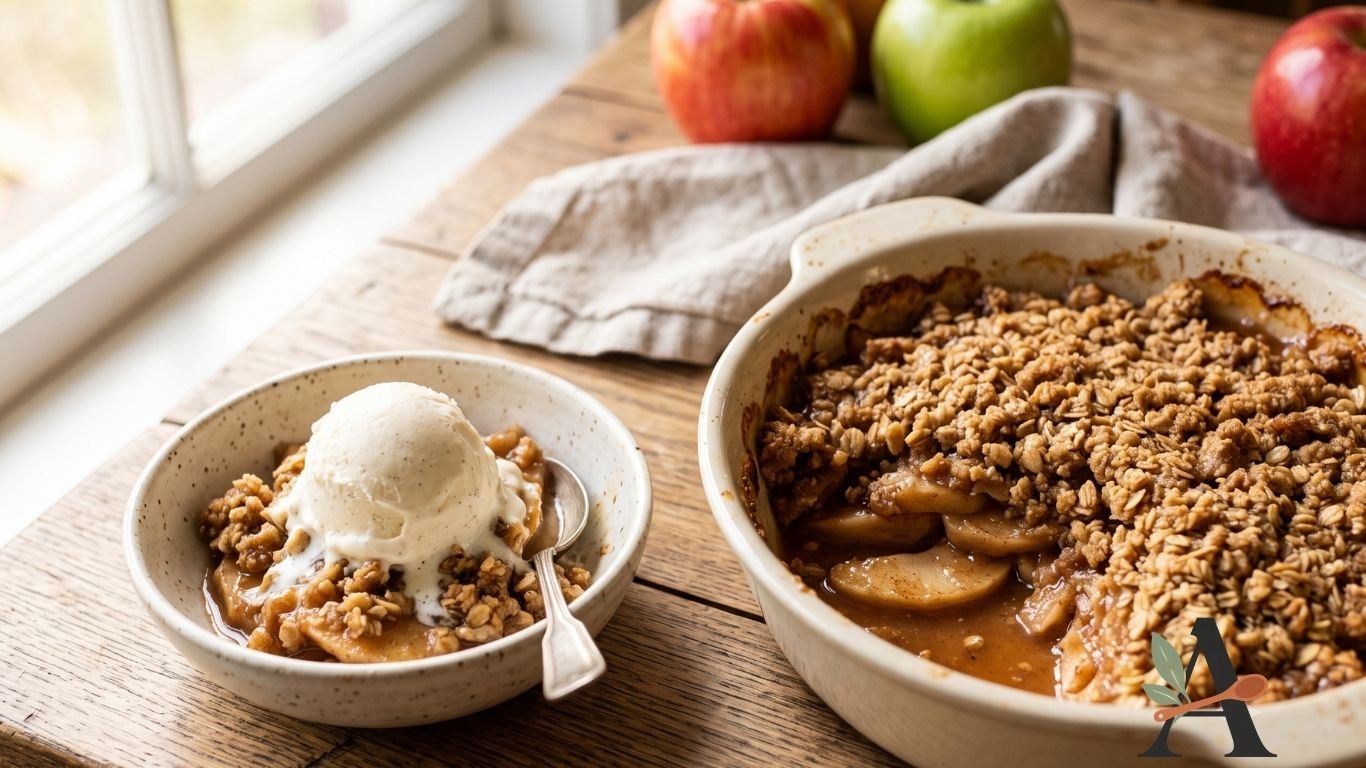
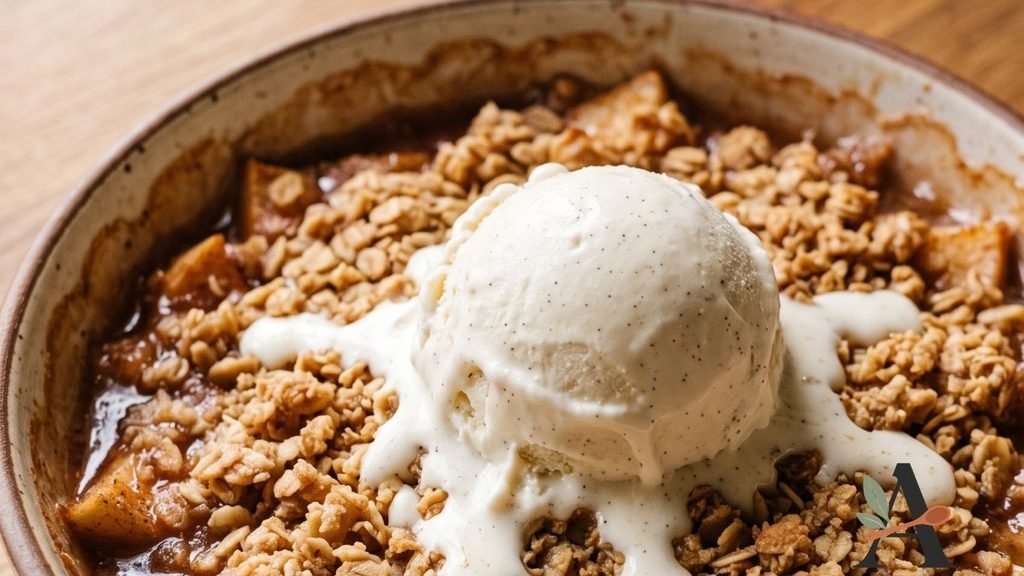
This easy apple crisp combines warm cinnamon apples with a buttery brown sugar and oat topping. The apples become tender and syrupy while the topping develops crisp, golden clusters.
Unlike apple pie, this dessert requires no rolling, chilling or shaping of pastry. Prepare the fruit, mix the topping and bake everything in one dish.
Serve the crisp warm with vanilla ice cream, whipped cream or caramel sauce for a comforting fall dessert.
Why You’ll Love This Apple Crisp
- Easier than apple pie.
- No pastry required.
- Crisp, buttery oat topping.
- Warm cinnamon apple filling.
- Made with everyday ingredients.
- Suitable for fall and holiday meals.
- Easy to prepare ahead.
- Delicious warm or at room temperature.
- Perfect with vanilla ice cream.
- Adaptable with pears or berries.
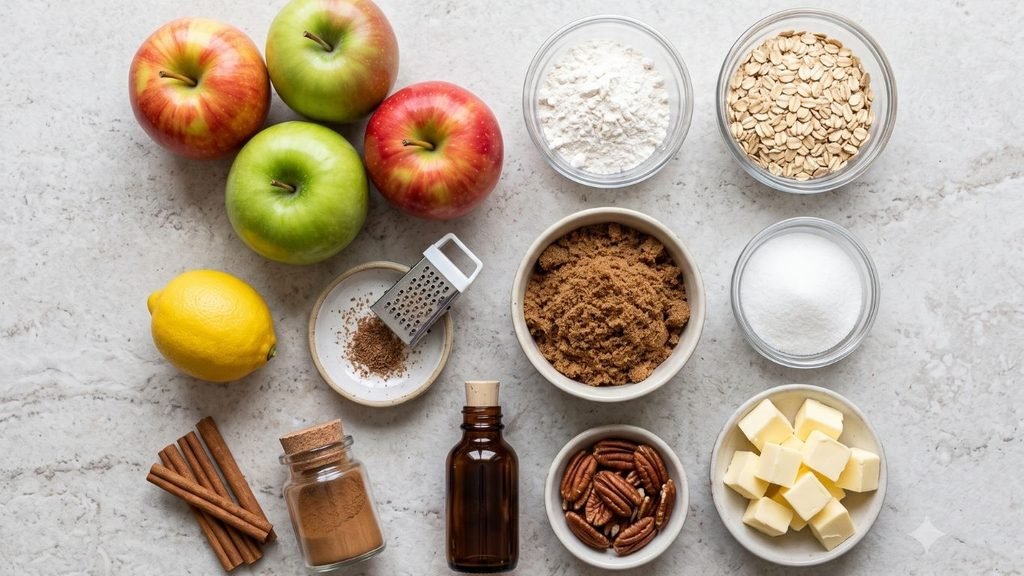
Ingredients You’ll Need
For the Apple Filling
- 6 medium baking apples, approximately 2½ pounds before peeling.
- 2 tablespoons fresh lemon juice.
- ⅓ cup granulated sugar.
- 2 tablespoons all-purpose flour.
- 1½ teaspoons ground cinnamon.
- ¼ teaspoon ground nutmeg.
- 1 teaspoon pure vanilla extract.
- ⅛ teaspoon salt.
For the Crisp Topping
- 1 cup old-fashioned rolled oats.
- ¾ cup all-purpose flour.
- ¾ cup packed light brown sugar.
- 1 teaspoon ground cinnamon.
- ¼ teaspoon salt.
- ½ cup cold unsalted butter, cut into cubes.
- ½ cup chopped pecans or walnuts, optional.
Ingredient Notes
Apples: Use firm baking apples that hold their shape. Granny Smith, Honeycrisp, Braeburn and Pink Lady are suitable choices. Combining tart and sweet varieties creates a balanced flavor.
Oats: Old-fashioned rolled oats provide the best texture. Quick oats create a finer topping, while steel-cut oats remain too firm.
Brown sugar: Brown sugar adds moisture and caramel flavor to the topping.
Butter: Cold butter creates crisp clusters. Soft or melted butter produces a flatter topping.
Lemon juice: Lemon balances the sweetness and slows browning while the apples are prepared.
Should You Peel Apples for Apple Crisp?
Peeling creates a softer, more consistent filling.
You may leave the skins on for additional texture, but some varieties have thick skins that separate from the fruit during baking.
Slice the apples approximately ¼ inch thick so they become tender at approximately the same time.
How to Make Apple Crisp
Step 1: Prepare the Oven
Preheat the oven to 350°F.
Lightly grease an 8 × 8-inch or 9 × 9-inch baking dish.
Place the dish on a rimmed baking sheet if it is filled close to the top.
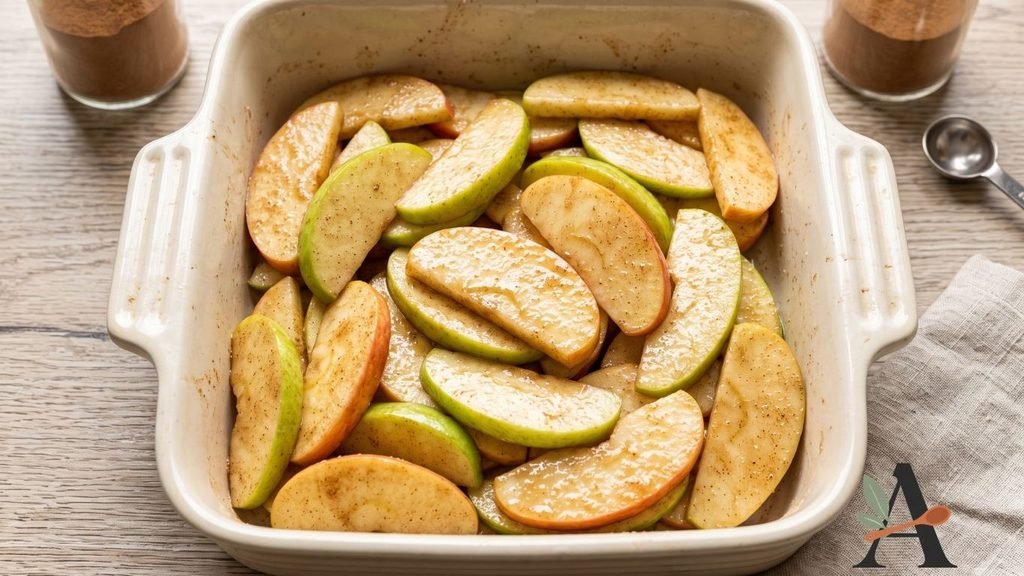
Step 2: Prepare the Apples
Peel, core and slice the apples approximately ¼ inch thick.
Place them in a large bowl and add the lemon juice.
Toss immediately to coat the slices.
Step 3: Season the Filling
Add the granulated sugar, flour, cinnamon, nutmeg, vanilla and salt.
Toss until the apples are evenly coated.
Transfer the filling and any accumulated juices to the baking dish.
Step 4: Prepare the Oat Topping
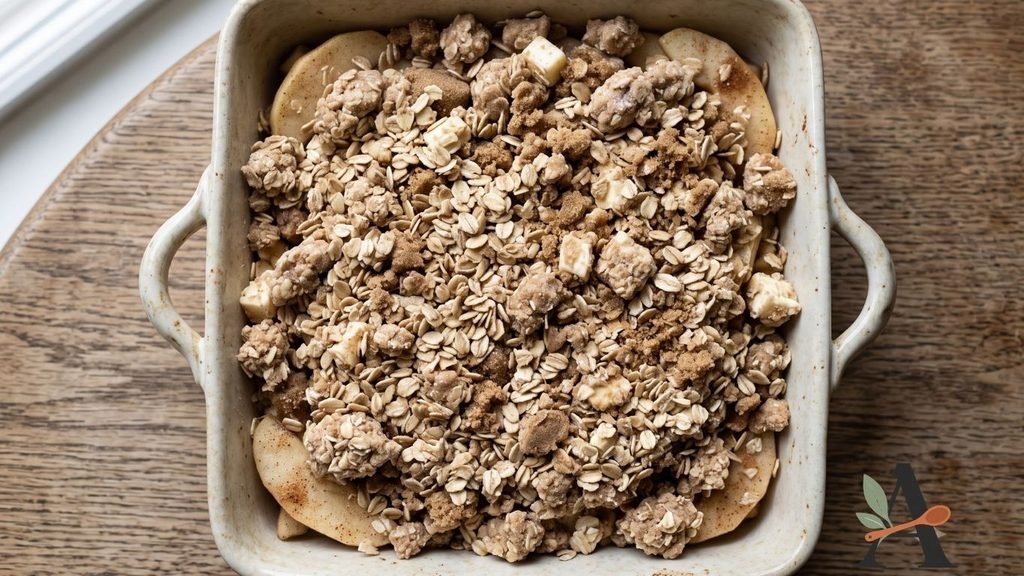
Combine the oats, flour, brown sugar, cinnamon and salt in a separate bowl.
Add the cold butter cubes.
Use a pastry cutter, fork or clean fingertips to work the butter into the dry mixture until irregular crumbs form.
Stir in the optional nuts.
Step 5: Add the Topping
Sprinkle the oat mixture evenly over the apples.
Do not press it into a compact layer. Loose crumbs allow more edges to become crisp.
Step 6: Bake
Bake uncovered for 40–50 minutes.
The topping should be golden, the filling should bubble around the edges and a thin knife should slide easily into the apples.
Cover loosely with foil if the topping browns before the apples become tender.
Step 7: Cool and Serve
Let the apple crisp rest for at least 15 minutes.
The juices thicken as the dessert cools.
Serve warm with vanilla ice cream or whipped cream.
Tips for the Best Apple Crisp
Use Baking Apples
Soft eating apples may break down and create a watery filling.
Slice Evenly
Uniform slices cook at the same rate and produce a more consistent texture.
Keep the Butter Cold
Cold butter produces distinct crumbs and prevents the topping from becoming greasy.
Look for Bubbling Filling
A golden topping alone does not mean the apples are ready. The filling should visibly bubble around the edges.
Let It Rest
Serving immediately can produce loose juices. Resting gives the filling time to thicken.
Why Is My Apple Crisp Watery?
Possible causes include:
- The apples released an unusually large amount of juice.
- The crisp was removed before the filling bubbled.
- The flour was omitted or measured incorrectly.
- The dessert was served immediately.
- Frozen fruit was substituted without adjusting the thickener.
Allow the crisp to cool for at least 15 minutes before assessing its consistency.
Recipe Variations
Caramel Apple Crisp
Drizzle caramel sauce over the warm servings.
Apple Cranberry Crisp
Replace approximately 1 cup of apples with fresh or frozen cranberries and adjust the sugar after testing.
Apple Pear Crisp
Replace one-third of the apples with firm pears.
Nut-Free Apple Crisp
Omit the pecans or walnuts without replacement.
Gluten-Free Apple Crisp
Use a suitable measure-for-measure gluten-free flour blend and certified gluten-free oats.
Individual Apple Crisps
Divide the filling and topping among greased ramekins and reduce the baking time.
Make-Ahead Instructions
Prepare the apple filling and topping separately up to one day in advance.
Cover and refrigerate both components. Assemble shortly before baking so the oat topping remains crisp.
You may also bake the complete dessert earlier in the day and reheat it before serving.
How to Store Apple Crisp
Cover cooled apple crisp and refrigerate it for up to 3–4 days.
Although it can remain at room temperature briefly while serving, refrigeration provides safer storage for leftovers.
How to Reheat Apple Crisp
Reheat the baking dish in a 350°F oven until warm.
An oven or air fryer restores more crispness than a microwave.
Microwave individual portions when speed is more important than a crunchy topping.
Can You Freeze Apple Crisp?
Yes. Cool the baked dessert completely and cover it securely.
Freeze for up to three months for best quality.
Thaw overnight in the refrigerator, then reheat uncovered in the oven.
Frequently Asked Questions
What are the best apples for apple crisp?
Granny Smith, Honeycrisp, Pink Lady and Braeburn are reliable choices. Combining tart and sweet apples provides balanced flavor.
Is apple crisp the same as apple crumble?
The terms are sometimes used interchangeably. In the United States, a crisp commonly contains oats, while a crumble may use a flour-based streusel without oats.
Can I use quick oats?
Yes, but old-fashioned oats create a heartier and crisper topping.
Can I use melted butter?
Cold butter produces better crumbly clusters. Melted butter creates a denser topping.
Why are my apples still hard?
They may have been sliced too thickly, or the crisp may need additional baking time.
Can I reduce the sugar?
Yes, especially when using sweet apples. Reducing it substantially may alter the filling’s consistency and topping texture.
Easy Apple Crisp Recipe Card
Preparation time: 20 minutes
Cooking time: 40–50 minutes
Cooling time: 15 minutes
Total time: Approximately 1 hour 20 minutes
Servings: 8
Course: Dessert
Cuisine: American
Method: Baking
Ingredients
Apple filling:
- 6 medium baking apples.
- 2 tablespoons lemon juice.
- ⅓ cup granulated sugar.
- 2 tablespoons flour.
- 1½ teaspoons cinnamon.
- ¼ teaspoon nutmeg.
- 1 teaspoon vanilla.
- ⅛ teaspoon salt.
Topping:
- 1 cup old-fashioned oats.
- ¾ cup flour.
- ¾ cup packed brown sugar.
- 1 teaspoon cinnamon.
- ¼ teaspoon salt.
- ½ cup cold cubed butter.
- ½ cup chopped pecans or walnuts, optional.
Instructions
- Preheat the oven to 350°F and grease a square baking dish.
- Peel, core and slice the apples.
- Toss them with lemon juice, sugar, flour, cinnamon, nutmeg, vanilla and salt.
- Transfer the filling to the dish.
- Combine the oats, flour, brown sugar, cinnamon and salt.
- Cut in the cold butter until coarse crumbs form.
- Add optional nuts.
- Sprinkle the topping loosely over the apples.
- Bake for 40–50 minutes.
- Remove when the topping is golden and the filling is bubbling.
- Rest for at least 15 minutes before serving.
Recipe Notes
- Use firm baking apples.
- Slice the fruit evenly.
- Keep the topping butter cold.
- Cover with foil if the topping browns too quickly.
- Test the complete recipe before confirming exact baking time and yield.