
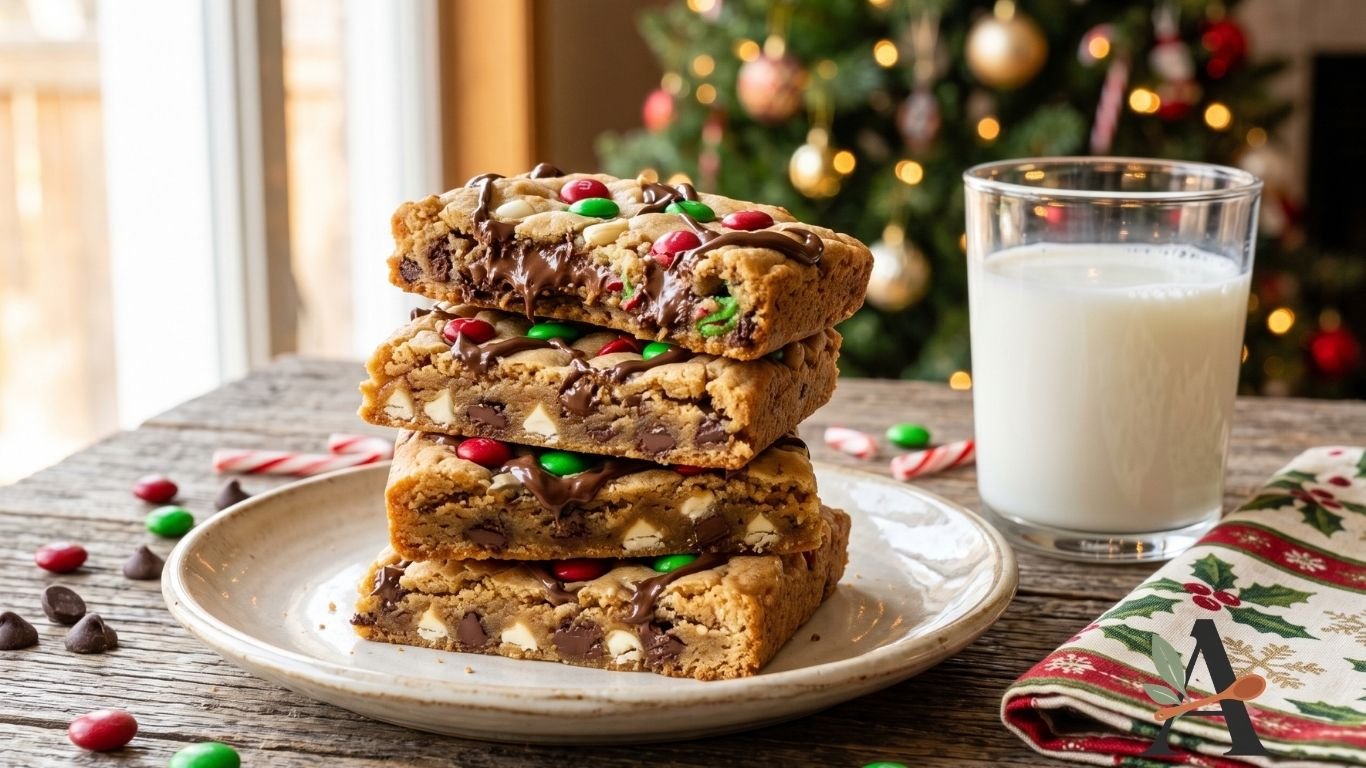
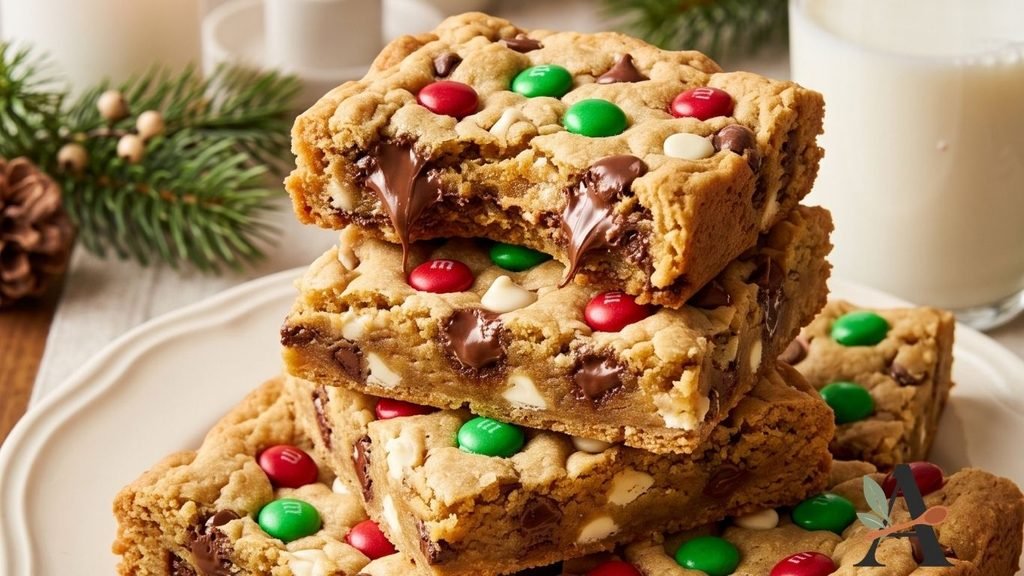
These Christmas M&M cookie bars have soft, chewy centres, lightly golden edges and plenty of melted chocolate. Red and green chocolate sweets give them an easy festive appearance.
The dough is pressed into one baking pan, so there is no chilling, rolling or shaping required. This makes them ideal for Christmas parties, school events, cookie exchanges and last-minute holiday baking.
Cut the cooled tray into squares and add them to Christmas cookie boxes alongside gingerbread, shortbread and peppermint cookies.
Why You’ll Love These Cookie Bars
- Soft and chewy texture.
- Golden, buttery edges.
- Filled with chocolate chips.
- Easy festive appearance.
- No dough chilling required.
- No individual cookie portions.
- Prepared in one baking pan.
- Suitable for parties and gifting.
- Easy to make ahead.
- Simple to customise for other holidays.
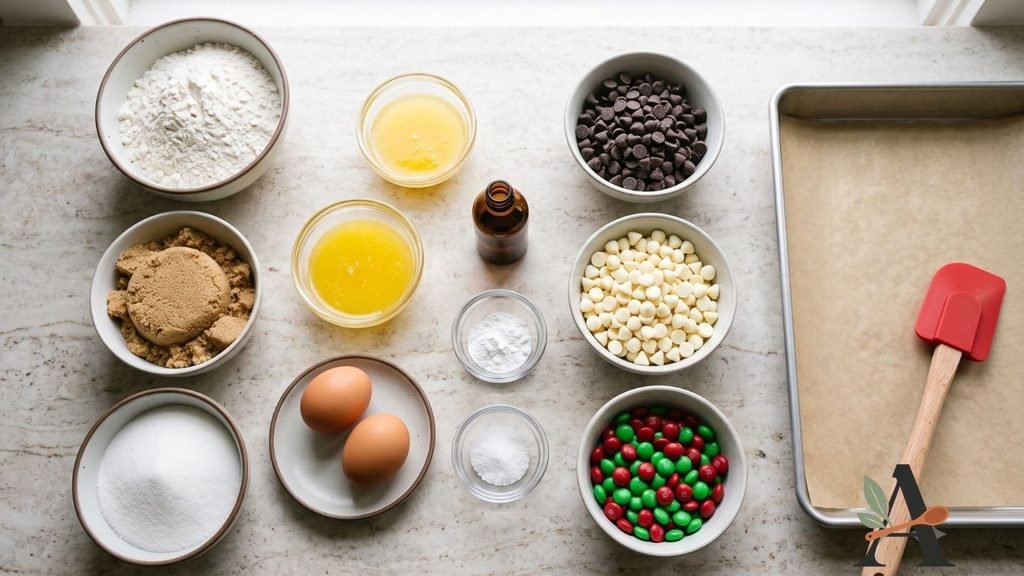
Ingredients You’ll Need
- 1 cup unsalted butter, melted and slightly cooled.
- 1 cup packed light brown sugar.
- ½ cup granulated sugar.
- 2 large eggs, at room temperature.
- 2 teaspoons pure vanilla extract.
- 2 cups all-purpose flour.
- 1 teaspoon baking powder.
- ½ teaspoon salt.
- 1 cup semisweet chocolate chips.
- 1 cup red and green candy-coated chocolates, divided.
- ½ cup white chocolate chips, optional.
- Flaky salt, optional.
Ingredient Notes
Melted butter: Creates a dense, chewy texture and removes the need for an electric mixer.
Brown sugar: Adds moisture, caramel flavour and chewiness.
Granulated sugar: Helps create lightly crisp edges.
Eggs: Provide structure and richness. Eggs at room temperature combine more smoothly with the butter.
Vanilla: Adds warmth and complements the chocolate.
Flour: Measure accurately. Too much flour makes the bars dry and cakey.
Chocolate chips: Semisweet chocolate balances the sweet candy-coated pieces.
Festive sweets: Use red and green candy-coated chocolates for a Christmas appearance. Reserve some for pressing on top.
What Baking Pan Should You Use?
Use a light-coloured metal 9 × 13-inch baking pan.
Metal conducts heat efficiently and helps the bars bake evenly.
A dark pan may brown the edges more quickly. Glass or ceramic dishes may require adjusted baking time and can retain heat longer after leaving the oven.
Line the pan with parchment paper, leaving an overhang on two sides. This creates handles for lifting out the cooled bars.
How to Make Christmas M&M Cookie Bars
Step 1: Prepare the Oven and Pan
Preheat the oven to 350°F.
Lightly grease a 9 × 13-inch baking pan.
Line it with parchment paper, leaving an overhang on two sides.
Grease the parchment lightly.
Step 2: Combine the Butter and Sugars
Place the melted, slightly cooled butter in a large mixing bowl.
Add the brown sugar and granulated sugar.
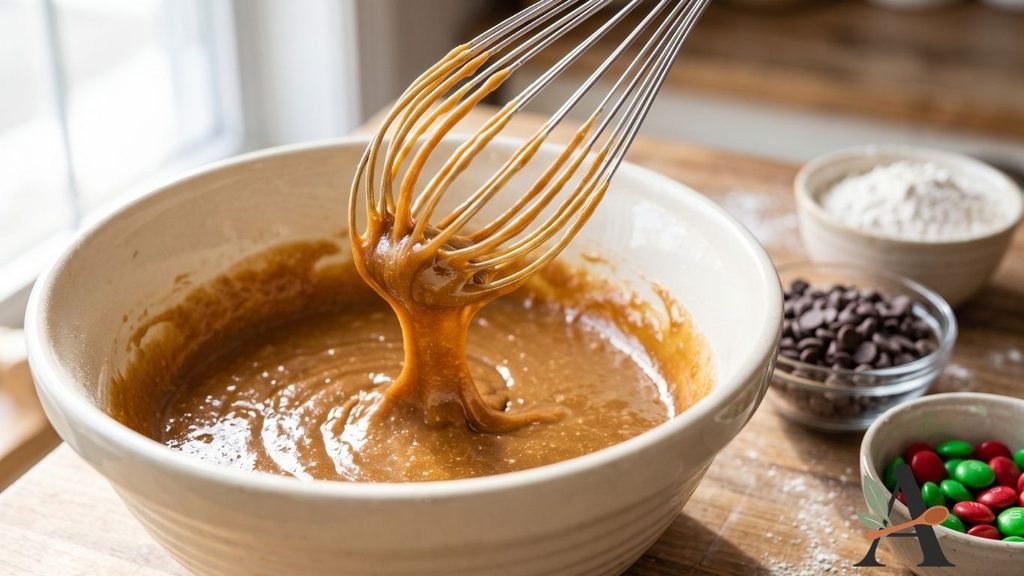
Whisk until smooth and glossy.
The butter should not be hot, as excessive heat can affect the eggs.
Step 3: Add the Eggs and Vanilla
Add the eggs one at a time, whisking after each addition.
Add the vanilla and whisk until the mixture appears smooth and slightly thickened.
Step 4: Combine the Dry Ingredients
In a separate bowl, whisk the flour, baking powder and salt.
Break up any lumps before adding the mixture to the wet ingredients.
Step 5: Make the Cookie Dough
Add the dry ingredients to the butter mixture.
Fold gently with a spatula until only a few streaks of flour remain.
Avoid excessive mixing.
Step 6: Add the Chocolate
Reserve approximately ¼ cup of the red and green sweets for decorating.
Fold the remaining sweets, semisweet chocolate chips and optional white chocolate chips into the dough.
Mix only until evenly distributed.
Step 7: Spread the Dough
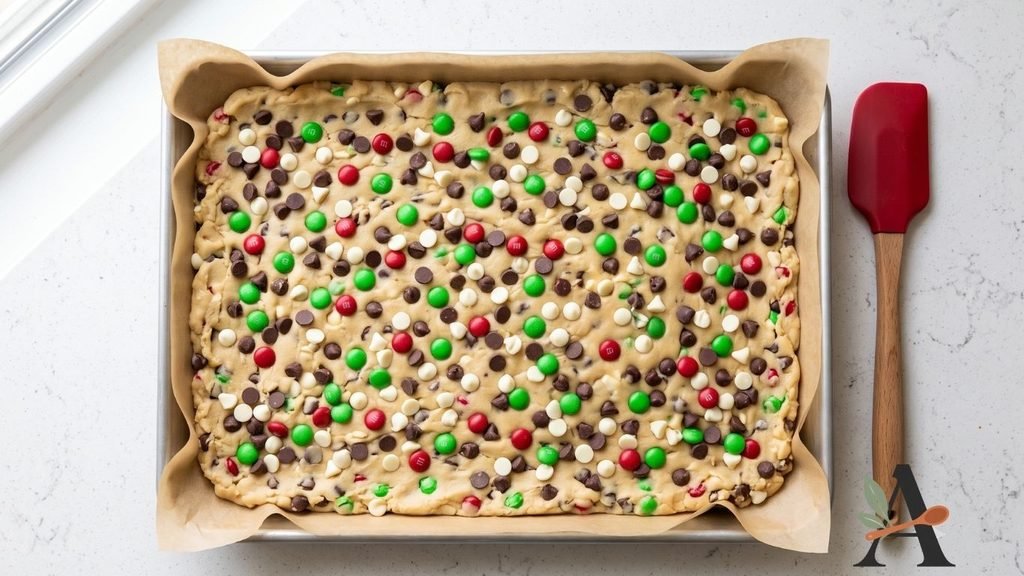
Transfer the thick dough to the prepared pan.
Spread it into an even layer, ensuring it reaches every corner.
A lightly greased spatula or clean hands can make the thick dough easier to press.
Step 8: Decorate the Top
Press the reserved red and green sweets into the surface.
Add several extra chocolate chips for a bakery-style appearance.
Step 9: Bake the Cookie Bars
Bake at 350°F for approximately 22–28 minutes.
The bars are ready when:
- The edges are lightly golden.
- The top appears set.
- The centre no longer looks wet.
- A toothpick contains moist crumbs but no raw batter.
Avoid waiting for a completely clean toothpick, as this may indicate overbaking.
Step 10: Add Optional Flaky Salt
Sprinkle the warm bars lightly with flaky salt, if desired.
The salt balances the sweet chocolate and caramel flavours.
Step 11: Cool Completely
Place the pan on a wire rack.
Allow the bars to cool completely inside the pan.
Use the parchment overhang to lift them onto a cutting board.
Step 12: Slice the Bars
Use a large, sharp knife.
Cut into 24 small squares or 16 larger bars.
Wipe the blade between cuts for clean edges.
Tips for Soft and Chewy Cookie Bars
Cool the Melted Butter
Hot butter can begin cooking the eggs and may create a greasy texture.
Use More Brown Sugar
Brown sugar provides the moisture required for chewy centres.
Measure Flour Accurately
Spoon the flour into the measuring cup and level it rather than packing it down.
Avoid Overmixing
Mix only until the flour and chocolate pieces are incorporated.
Spread the Dough Evenly
Thin corners bake faster and may become dry.
Do Not Overbake
The centre continues setting as the pan cools.
Cool Before Cutting
Warm bars are soft and may fall apart or produce uneven slices.
How to Know When Cookie Bars Are Done
Look for lightly golden edges and a dry, set surface.
The centre may still feel soft when gently pressed but should not move like uncooked batter.
Insert a toothpick near the centre. It should emerge with several moist crumbs.
Remember that chocolate from a melted chip can appear like raw dough, so test another area when uncertain.
Why Are My Cookie Bars Dry?
Common causes include:
- Too much flour.
- Baking for too long.
- Using a dark pan without reducing the time.
- Cutting while hot and allowing excess steam to escape.
- Substituting lower-fat ingredients.
- Making the layer too thin in a larger pan.
Begin checking before the full estimated baking time.
Why Did My Cookie Bars Sink?
A slight dip in the centre can occur as chewy bars cool.
Significant sinking may result from:
- Underbaking.
- Excessive mixing.
- Incorrect flour measurement.
- Too much raising agent.
- Removing the pan before the centre has set.
The bars should remain soft but stable after cooling.
Christmas Cookie Bar Variations
Peppermint Cookie Bars
Add crushed peppermint sweets and white chocolate chips.
Double-Chocolate Christmas Bars
Replace a measured portion of flour with cocoa powder using a separately tested formula.
Christmas Sprinkle Bars
Replace some of the candy-coated chocolates with festive jimmies.
Peanut Butter Christmas Bars
Add peanut butter chips and a swirl of creamy peanut butter.
Cranberry White Chocolate Bars
Use dried cranberries and white chocolate chips instead of candy-coated sweets.
Pecan Chocolate Chip Bars
Add toasted chopped pecans to the dough.
Salted Caramel Cookie Bars
Add caramel pieces and finish with flaky salt.
Other Holiday Cookie Bars
Change the colours of the candy-coated chocolates for Valentine’s Day, Easter, Halloween or birthdays.
Can You Make Christmas Cookie Bars Ahead?
Yes.
Bake the bars one or two days before serving.
Allow them to cool completely, cut them and store them inside an airtight container.
For the freshest presentation, reserve several festive sweets and press them into the bars while still warm.
The unbaked dough can also be covered and refrigerated briefly, although it may require a few additional minutes in the oven.
How to Store Christmas Cookie Bars
Store completely cooled bars in an airtight container at room temperature for up to five days.
Place parchment paper between layers.
A small piece of bread placed inside the container can help preserve softness, but do not allow it to touch the bars directly.
Can You Freeze Cookie Bars?
Yes.
Freeze the Complete Tray
Cool the uncut tray completely.
Wrap it securely and freeze for up to three months.
Thaw before cutting.
Freeze Individual Bars
Wrap each piece or separate layers with parchment.
Place them in a freezer-safe container and freeze for up to three months.
Thaw at room temperature before serving.
How to Package Cookie Bars as Gifts
Cut the bars into neat, equal squares.
Place each piece inside a paper case or wrap it in parchment.
Arrange them inside:
- Christmas cookie tins.
- Bakery boxes.
- Cellophane treat bags.
- Divided dessert boxes.
- Holiday gift baskets.
Include an ingredient and allergen label when giving homemade food to others.
Frequently Asked Questions
Can I use ordinary M&M sweets?
Yes. Use any candy-coated chocolates, but red and green varieties provide the Christmas appearance.
Can I use salted butter?
Yes. Reduce or omit the added salt.
Do I need to chill the dough?
No. The dough is pressed directly into the baking pan.
Why are my bars cakey?
Too much flour, excessive mixing or baking too long can create a cakier texture.
Can I use a smaller pan?
A smaller pan produces thicker bars and requires a longer baking time. Use a tested adjustment.
Can I make these without candy-coated sweets?
Yes. Replace them with additional chocolate chips, nuts or dried cranberries.
How do I get clean cuts?
Cool the bars completely and wipe a sharp knife between each cut.
How many bars does the recipe make?
It produces 24 small party bars or 16 generous dessert portions.
Christmas M&M Cookie Bars Recipe Card
Preparation time: 15 minutes
Cooking time: 22–28 minutes
Cooling time: Approximately 1 hour
Total time: Approximately 1 hour 45 minutes
Yield: 16–24 bars
Course: Dessert
Cuisine: American
Method: Baking
Ingredients
- 1 cup unsalted butter, melted and cooled slightly.
- 1 cup packed light brown sugar.
- ½ cup granulated sugar.
- 2 large eggs.
- 2 teaspoons vanilla extract.
- 2 cups all-purpose flour.
- 1 teaspoon baking powder.
- ½ teaspoon salt.
- 1 cup semisweet chocolate chips.
- 1 cup red and green candy-coated chocolates, divided.
- ½ cup white chocolate chips, optional.
- Flaky salt, optional.
Instructions
- Preheat the oven to 350°F.
- Grease and line a 9 × 13-inch metal baking pan.
- Whisk the melted butter with both sugars.
- Add the eggs one at a time.
- Add the vanilla.
- Whisk the flour, baking powder and salt separately.
- Fold the dry ingredients into the wet mixture.
- Reserve some festive sweets for the top.
- Fold in the remaining sweets and chocolate chips.
- Spread the dough evenly in the prepared pan.
- Press the reserved sweets over the surface.
- Bake for 22–28 minutes.
- Remove when the edges are golden and the centre is set.
- Add optional flaky salt.
- Cool completely in the pan.
- Lift out using the parchment.
- Cut into 16–24 bars.
Recipe Notes
- Allow the melted butter to cool slightly.
- Measure the flour accurately.
- Avoid overmixing the dough.
- Spread it evenly into the corners.
- Remove the bars while the centre remains soft.
- Test the complete recipe before confirming the exact baking time and yield.